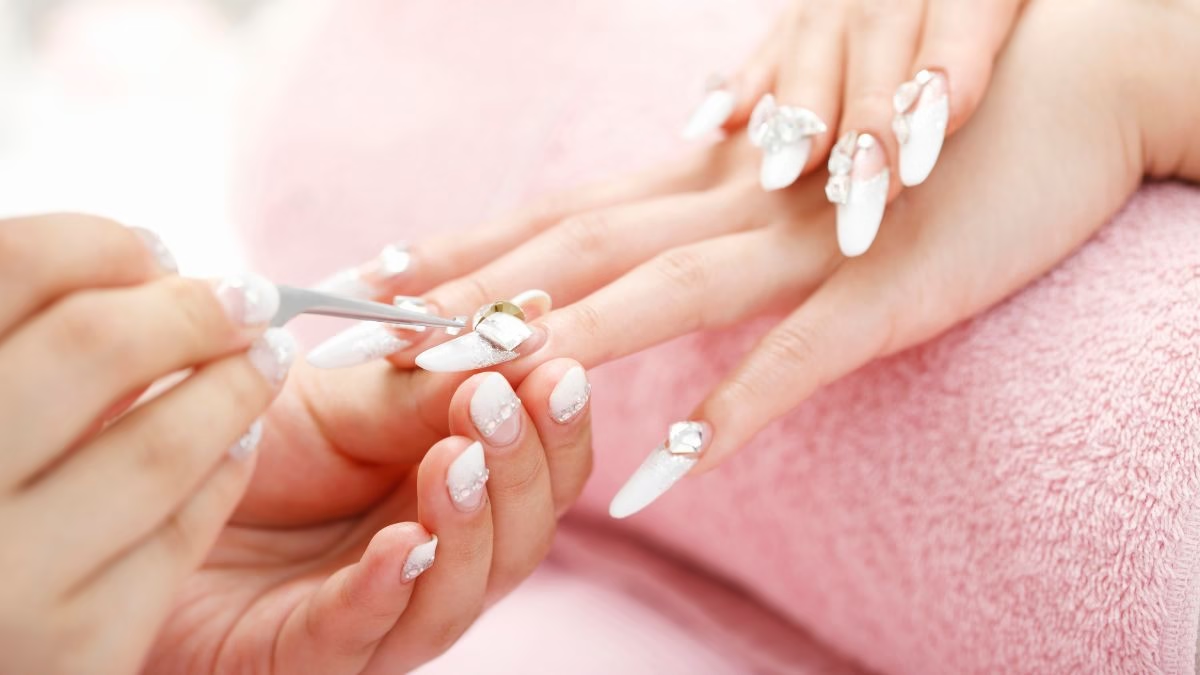
We’ve all experienced it – your stunning acrylic manicure has grown out, started lifting, or worse, a nail has broken, leaving you with an unsightly and uncomfortable situation. While visiting a nail salon is the safest way to remove acrylic nails, there are times when you may need to do it yourself. Fortunately, with the right approach, you can safely remove your acrylic nails at home without harming your natural nails. This guide will walk you through five simple steps to ensure a smooth and damage-free transition back to your natural nails.

Understanding Acrylic Nails and Why Proper Removal Matters
Acrylic nails are known for their durability and aesthetic appeal, but if not removed correctly, they can weaken and damage your natural nails. Improper removal techniques like peeling, biting, or forcibly pulling off acrylic nails can cause serious harm to your nail bed, leading to pain, brittleness, and long-term damage.
The safest way to remove acrylic nails is by using acetone, a powerful solvent that effectively breaks down the material. The key to a successful removal process is patience—rushing it can cause unnecessary damage that takes months to repair.
What You’ll Need for Acrylic Nail Removal
Before you begin, gather all necessary tools and supplies to make the process easier and more efficient. Here’s what you’ll need:
- 100% pure acetone (regular nail polish remover won’t work effectively)
- Nail clippers
- Coarse nail file (100-grit or similar)
- Cotton balls or pads
- Aluminum foil (cut into small squares)
- Cuticle pusher or orange stick
- Cuticle oil
- Hand moisturizer
If acetone tends to dry out your skin, you may also want to have nail clips to hold cotton balls in place instead of using foil. Additionally, prepare your workspace by covering surfaces with a towel to protect them from spills.
Step 1: Trim Your Acrylic Nails
Start by reducing the length of your acrylic nails. Using nail clippers, carefully trim down the extensions as close to your natural nail as possible without cutting into your real nails. This step minimizes the amount of acrylic that needs to be dissolved, significantly reducing removal time.
Be cautious while cutting, as acrylic can be thick and prone to cracking. Trim each nail slowly and evenly to avoid damaging your natural nails underneath.

Step 2: File Down the Top Layer
Next, take a coarse nail file and buff the entire surface of your acrylic nails. The goal is to remove the glossy top layer, which acts as a barrier to acetone absorption. By roughening the surface, you allow the acetone to penetrate more effectively.
Work gently and evenly across each nail, avoiding excessive pressure that could weaken your natural nails. Be patient—over-filing can cause unnecessary thinning and damage to your real nails underneath.
Step 3: Apply Acetone for Acrylic Breakdown
Now, it’s time to break down the acrylic using acetone. There are two common methods:
1. Cotton Ball & Foil Method:
- Soak a cotton ball in 100% pure acetone.
- Place the soaked cotton ball directly on your nail.
- Wrap the fingertip tightly with a small piece of aluminum foil to keep the cotton in place.
- Repeat for all fingers and let it sit for about 20-30 minutes.
2. Soaking Bowl Method:
- Fill a small bowl with acetone and place it over a larger bowl of warm water to gently warm the acetone (never microwave acetone!).
- Soak your fingertips in the warm acetone for 15-20 minutes.
- Occasionally wiggle your fingers to help loosen the acrylic.
For a faster process, you can place a warm towel over your hands while using the foil method, as heat speeds up the breakdown of acrylic.

Step 4: Gently Remove the Softened Acrylic
After soaking, check if the acrylic has softened. Remove the foil from one finger and gently push off the acrylic using a cuticle pusher or orange stick. Start from the cuticle and work your way to the tip.
If the acrylic is still firm, rewrap the nail with acetone-soaked cotton and wait another 5-10 minutes. Never force the acrylic off, as this can tear layers of your natural nail, causing long-term damage.
For any small, stubborn acrylic remnants, lightly buff them away with a fine-grit nail buffer. Be gentle to avoid thinning out your natural nails.
Step 5: Moisturize and Strengthen Your Nails
Once all acrylic has been removed, your nails may feel dry and weak. It’s essential to restore moisture and strength:
- Wash your hands thoroughly to remove any acetone residue.
- Apply cuticle oil to each nail and massage it into the nail bed and cuticles.
- Use a nourishing hand cream to rehydrate your skin.
- Consider using a nail strengthener or biotin-based treatment to support healthy nail growth.
- Keep your nails short for a few weeks to prevent breakage as they recover.
Applying cuticle oil daily will help your nails regain flexibility and prevent peeling or splitting.
What to Avoid: Common Mistakes That Damage Nails
To protect your natural nails, steer clear of these mistakes:
- Peeling or prying off acrylic nails: This can strip away layers of your natural nail, leaving them thin and brittle.
- Skipping the acetone soak: Without proper softening, forced removal can cause significant damage.
- Using regular nail polish remover instead of acetone: It won’t effectively dissolve acrylic, leading to excessive scraping and filing.
- Over-filing your natural nails: Buffing too aggressively weakens your nails and makes them prone to splitting.
- Trying unproven removal hacks: Avoid viral DIY methods like dental floss or dish soap, as they can lead to nail trauma.
When to Seek Professional Help
While home removal works for most people, there are times when professional assistance is the best option. If you experience any of the following, visit a nail technician:
- Extremely thick acrylic that won’t dissolve easily
- Natural nails that are already weak or damaged
- Any pain, bleeding, or signs of infection
A professional removal service ensures your nails stay healthy and undamaged, which can be worth the small investment.

Final Thoughts
Removing acrylic nails at home doesn’t have to be a stressful or damaging process. By following these five essential steps—trimming, buffing, soaking, gently removing, and moisturizing—you can safely transition back to natural nails without compromising their health.
You may also be interested in: 5 Best Trends for Spring Nails to Try This Season
Patience is key. Taking your time ensures that your nails remain strong and beautiful, allowing them to recover properly before your next manicure. With proper care, you’ll maintain healthy nails that serve as the perfect foundation for any future nail enhancements!

